
Guest Review: SwitchBot Roller Shade – Adjustable & Easy to Install
I’ve been dreaming of a smart roller shade for ages, and now I’ve finally had the chance to try one out!
This is the third time I’ve tested SwitchBot products. Be sure to check out my previous reviews Here and Here. Now, I’ve had the opportunity to install the SwitchBot Roller Shade, and let me just say – what a great product!
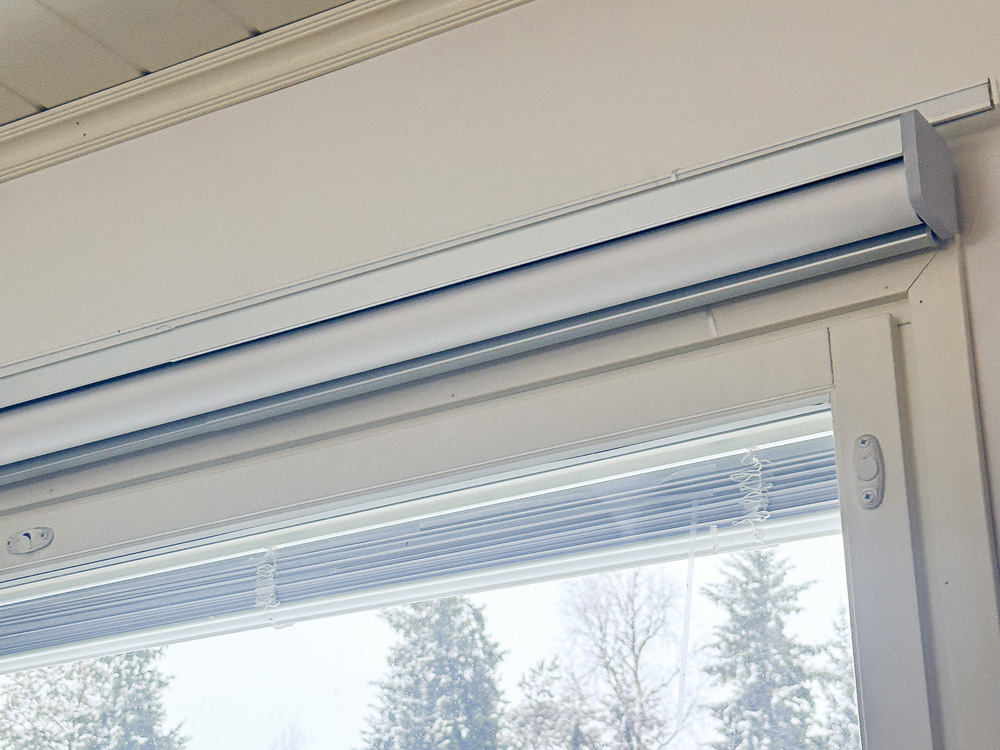
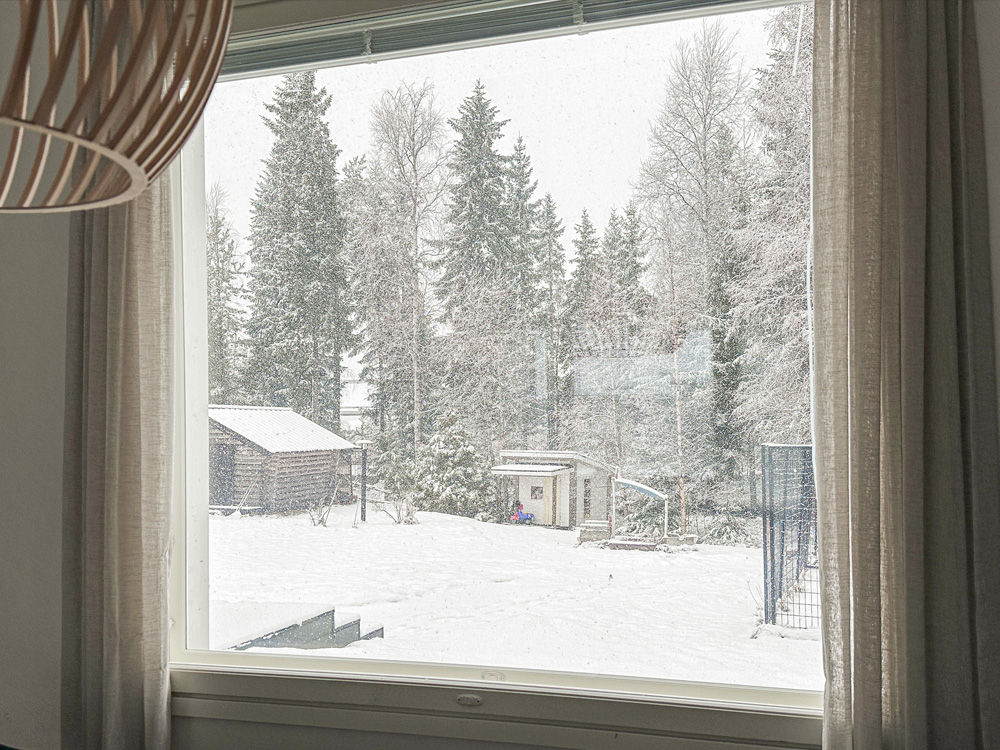
I’ve had issues with my window blinds for years. They’ve been broken, they get stuck constantly, and honestly, they don’t provide much privacy or block enough sunlight. I have a large window in my dining room, and that’s where I installed the Roller Shade. As I’ve mentioned before, my experience with home automation is quite limited, so I love using products like this that work straight out of the box without requiring a ton of setup.
Installation
Based on my previous experience with SwitchBot, I expected the installation to be a breeze – but I was still pleasantly surprised. The package includes everything you need (except for the drill, but let’s not get too carried away, right?). There’s a screwdriver, all the screws and anchors, and even, believe it or not, a stapler for stapling the shade fabric. Absolutely ridiculous – and convenient!
As mentioned, the SwitchBot Roller Shade is adjustable and comes in four sizes: S (580-800mm), M (800-1100mm), L (1100-1400mm), and XL (1400-1850mm). Since my window is fairly large, I took measurements and opted for the XL option.
The installation process begins with adjusting the shade to fit the size of your window. If you need to make it narrower, you’ll need to cut the fabric itself, but the instructions and included tools make this step very clear. Conveniently, mine was already the perfect width, so I skipped the refitting phase.
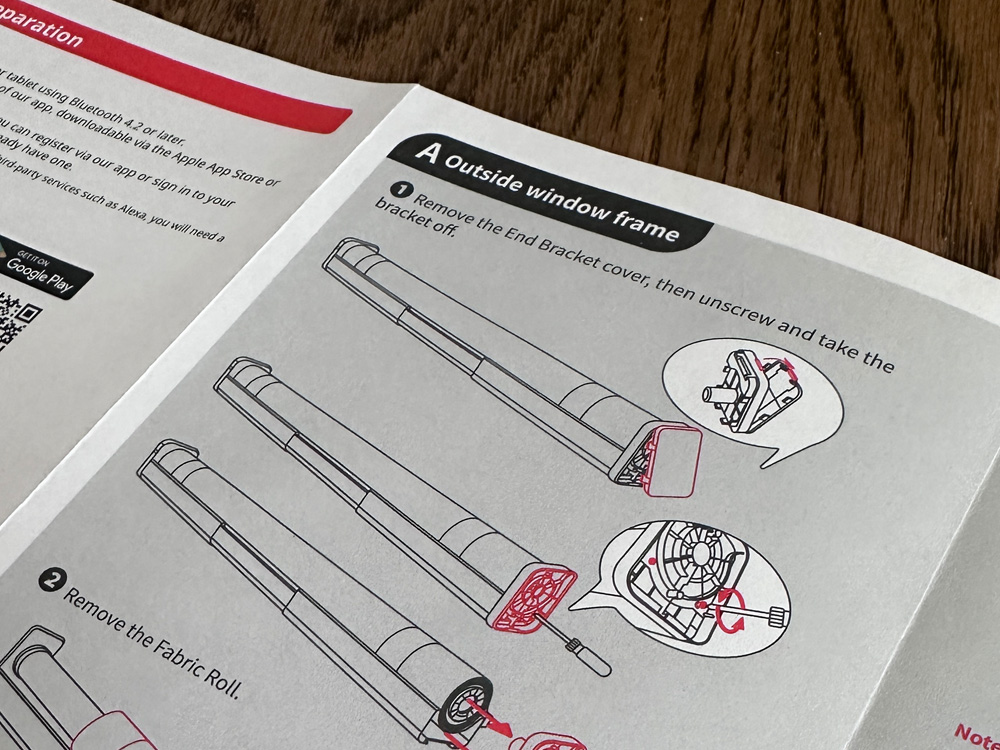
The Roller Shade can be installed both inside and outside the window frame, with detailed instructions for both installation methods. I installed mine outside the frame. I really have to thank SwitchBot for making the instructions so clear; they were incredibly helpful throughout the process.
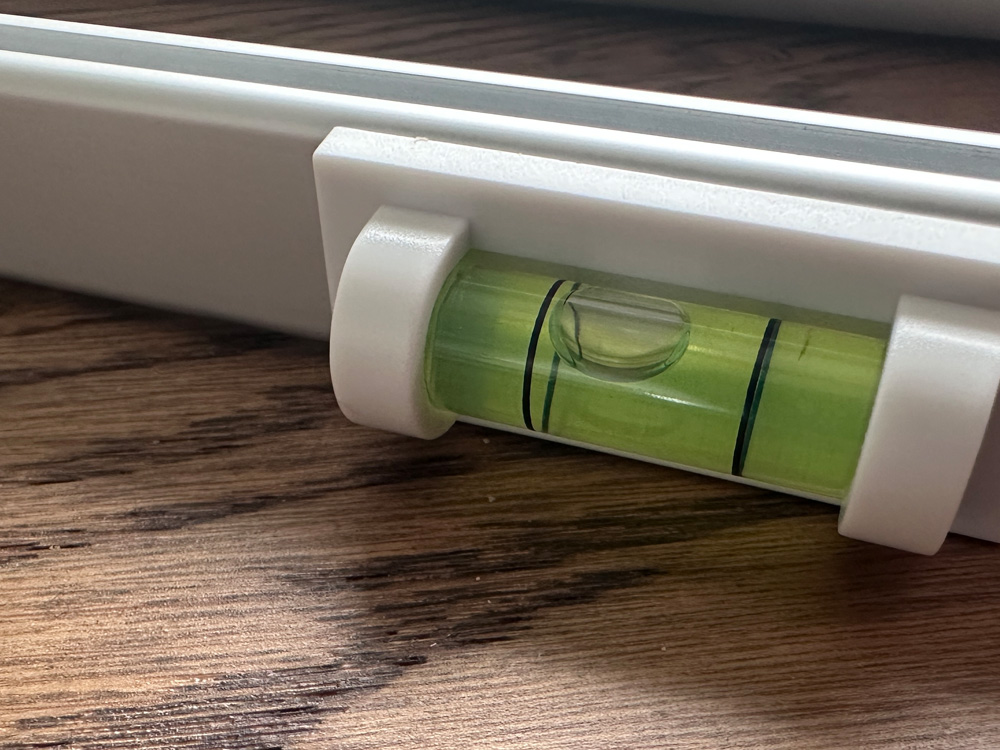
After adjusting the size, you attach the curtain frame to the window. To assist with this, there are positioning cards that help you place the screws in the correct spots, along with a temporary level to ensure proper installation.
The entire installation process was very easy, and honestly, anyone can do it. If you choose the XL version like I did, I recommend getting someone to help lift the roller shade into place, as it would be challenging to do it alone.
The Roller Shade isn’t power-hungry on its own, but I also got the Solar Panel for it. You simply plug it into the roller shade and attach it to your window, providing virtually infinite power so you won’t have to worry about charging the shade.

Setting Up
After installation, you’ll need to set up the Roller Shade. For that, you’ll also need a hub that connects to your device, as well as the SwitchBot app. I used the new SwitchBot Hub Mini, which supports Matter, so I could set it up to work with my Apple Home. First, plug in the hub and connect it to your WiFi. It will immediately detect your freshly installed Roller Shade, and you’re all set!
Once connected, you’ll need to calibrate the shade using the SwitchBot app. This process is simple – just adjust the shade to your desired open position and confirm it. Then, do the same for the closed position. That’s it! The Roller Shade works perfectly now. I also set up commands for Apple Home so I can control it the same way I operate my other smart devices. Additionally, there’s a handy wired remote, so even my kids can operate the shade without needing a phone or voice commands.
For those wondering how the Apple Home setup works, there isn’t much to tell – with the new Switchbot Hub Mini Matter Enabled, it just works. Just like that. You simply connect the hub to your Apple Home, and any devices connected to it follow along seamlessly.
Conclusion
In conclusion, I’d say the Roller Shade is a highly functional and practical product. It operates quietly, and while there’s a Silent Mode option, I haven’t needed to use it as the sound doesn’t bother me at all. I typically open and close it once a day, and the sound is never an issue. You can check out the video below to see it in action!
I think it’s no surprise that I highly recommend this product if you’re in the market for a smart roller shade. I’ve never encountered an installation process this easy, and the included tools were incredibly helpful. The fact that you can install it on almost any window makes it a fantastic choice for anyone looking to upgrade their shades.
I’ve been using the Roller Shade for a few weeks now, and it’s been working like a dream. Right now, I control it manually – I open the shades in the morning and close them in the evening when it gets dark. Of course, you could automate the process, but I prefer to have some control of my own. I’m already considering getting another Roller Shade for a few other windows!
Pssst.. limited time offer on SwitchBot Roller Shades, 40% off until March 31st
Promotional message:
Need a SwitchBot device? You can get 10% off with the creatingsmarthome.com code 10UPF4RLGELVDV directly from the SwitchBot store.